Monday, December 12, 2016

Urban Environment for Final Render

This week we imported our finished model into Unreal and created a background environment that fits the theme of the vehicle. I chose to create a scene in which a police officer has discovered a vehicle that was reported stolen.


Sunday, December 4, 2016

Shaders and Decals

This week we used Mental Ray to add shaders to our car. We also added decals and then lit the scene.

First I used the preset car paint material in mental ray for the vehicle body, then I used my photoshopped UV image as the primary color for the material.


Next I created a dark, slightly transparent material for the tinted windows. I made additional materials for the headlights, rear lights, emergency lights, and tires.


Finally I added three separate decals and lit the scene.


Monday, November 28, 2016

Charger model refinements and UV mapping


After receiving feedback from Jon and some fellow students, I made a few improvements to my Dodge Charger model. First I softened some edges in the body, side mirrors and tires:


Then I added emergency lights and a grill like you might find on police cruiser:


The improved tires and windshields/windows:


Then I separated out the UVs and painted them in photoshop. I still need to paint the tire, emergency lights, mirrors, cage, and spoiler and sew those UVs together.


Tuesday, November 22, 2016

Modeling in Maya

This week we started using Maya in earnest, and we started by modeling a Dodge Charger. I didn't take too many screenshots along the way, but here's a (mostly) finished product.

Monday, November 14, 2016

Beauty Pass

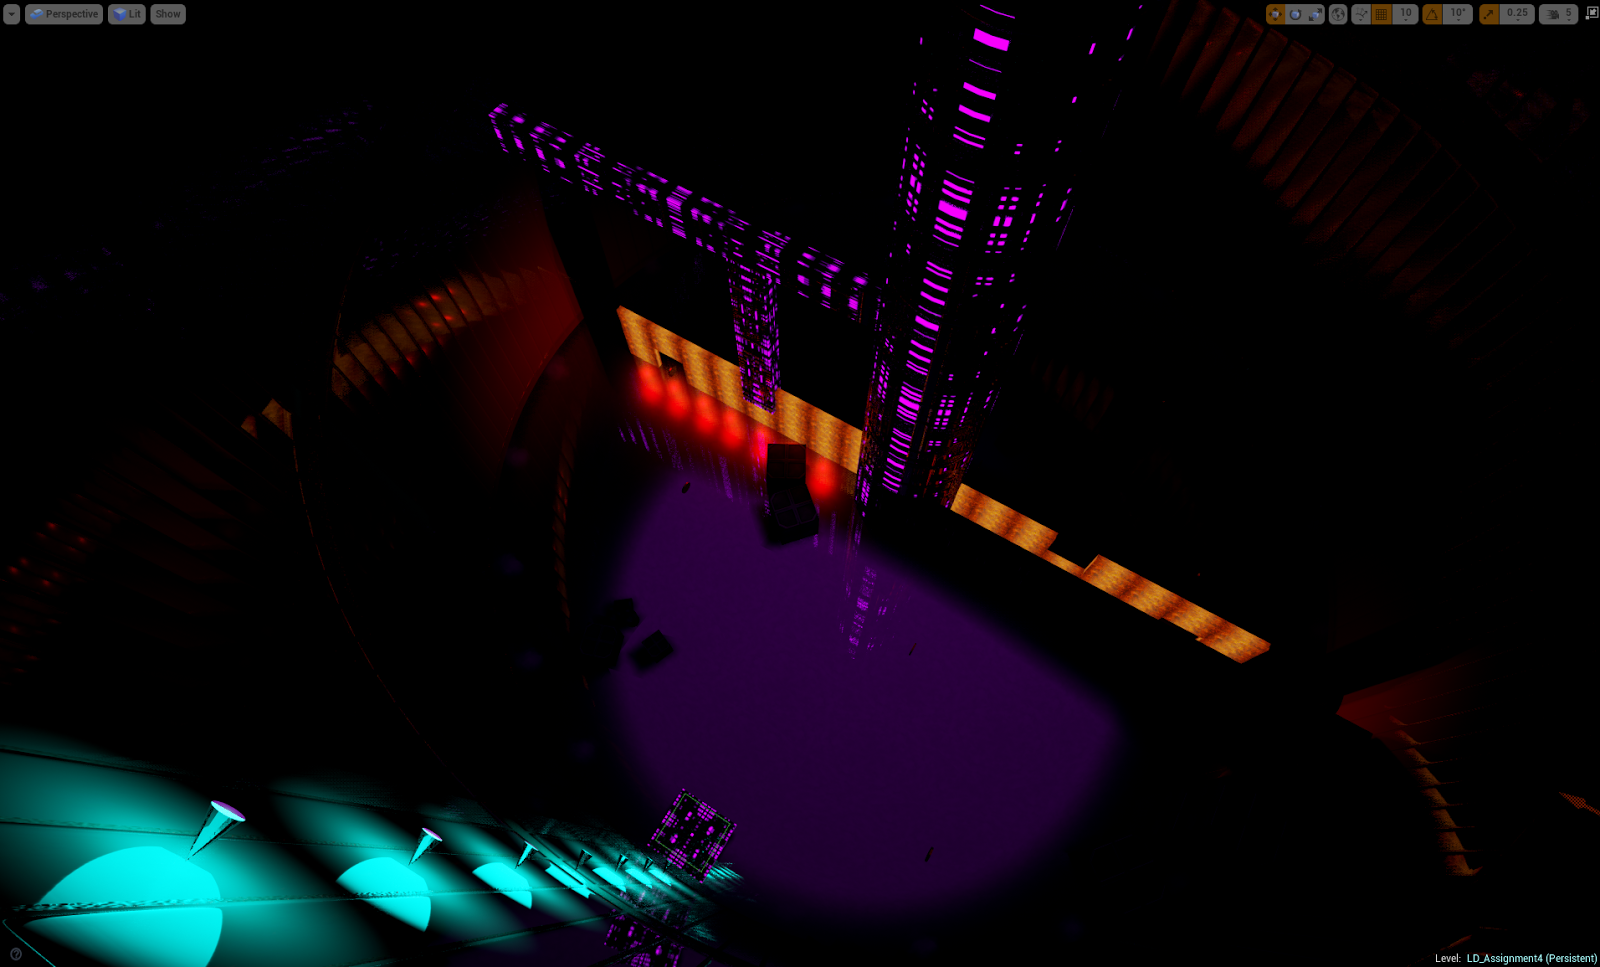
This week we made our previous level more visually appealing. After pulling several asset packs (Mod_SciFi_Halls, Game Texture Free Materials, ScifiHallway, etc.) I began by improving my centrifuge blueprint. I used a laser pointer material to create the effect of a laser grid, then shrunk the gaps to provide additional challenge.


Then I decorated the moonscape with twisted rock formations and alien torches.


Then I improved the look of the Moonbase exterior with emissive marquees and high res textures.


Followed by the airlock, where I added benches, lockers, monitors, oxygen tanks, and lights.


Finally I spruced up the interior with better lighting, smoky alcoves, and structural supports.


Monday, November 7, 2016

Moonbase Centrifuge Level


For the Week 3-4 Assignment I created a three-story moon base with a spinning centrifuge of death. The player has to collect as many coins as they can, while avoiding wall of fire. Right now the fire wall merely pushes the player back, but eventually I intend to to add damage to the blueprint.

I began by setting up my terrain:


Then I outlined the structure of the base using additive and subtractive geometry:

Then I set up my player blueprint:


Then the coin collection blueprint:


And the light toggle blueprint:


And the airlock blueprint, which also required a timeline:


Here is the completed first floor of the Moonbase:


And a video demoing the player abilities and Moonbase functionality:

https://www.youtube.com/watch?v=2LCQZuRG93M&feature=youtu.be

Saturday, November 5, 2016

Minecraft Level Design

For this assignment I chose to recreate a classic boss battle from the Kirby series: Whispy Woods.


I began by creating a beveled cube in Maya.


Using Photoshop I painted several textures with a pixelated "Minecraft" style.


Then I imported the textured cubes into Unreal and proceeded with building my level.


After completing the forest, I added atmospheric and exponential height fog.